Jaws of the Sky: surviving the flying zombie shark
The most famous boss in tower defense doesn't care about your ground game. Phase management, anti-air coverage and the cooldown timing that turns panic into procedure — the complete Jaws of the Sky doctrine.

FILED UNDER Boss Guides
A giant flying zombie shark shouldn't work as a boss fight, but it's the fight everyone remembers — because it forces the game's only honest test of aerial coverage. Ground towers are scenery here. If your grid can't reach the sky, mission 23 will teach you what that means.
The three-phase fight
Phase one is a patrol loop — the shark circles the map perimeter on a predictable circuit, spawning zombie adds on the ground lanes it overflies. Phase two triggers at 60% health: it dives directly at your tower clusters and the adds turn aggressive. Phase three, under 25%, is a desperate strafing run along the longest lane — the moment your anti-air DPS either holds or folds. Each phase has a different correct answer; treating it as one fight is how runs die.
Anti-air grid blueprint
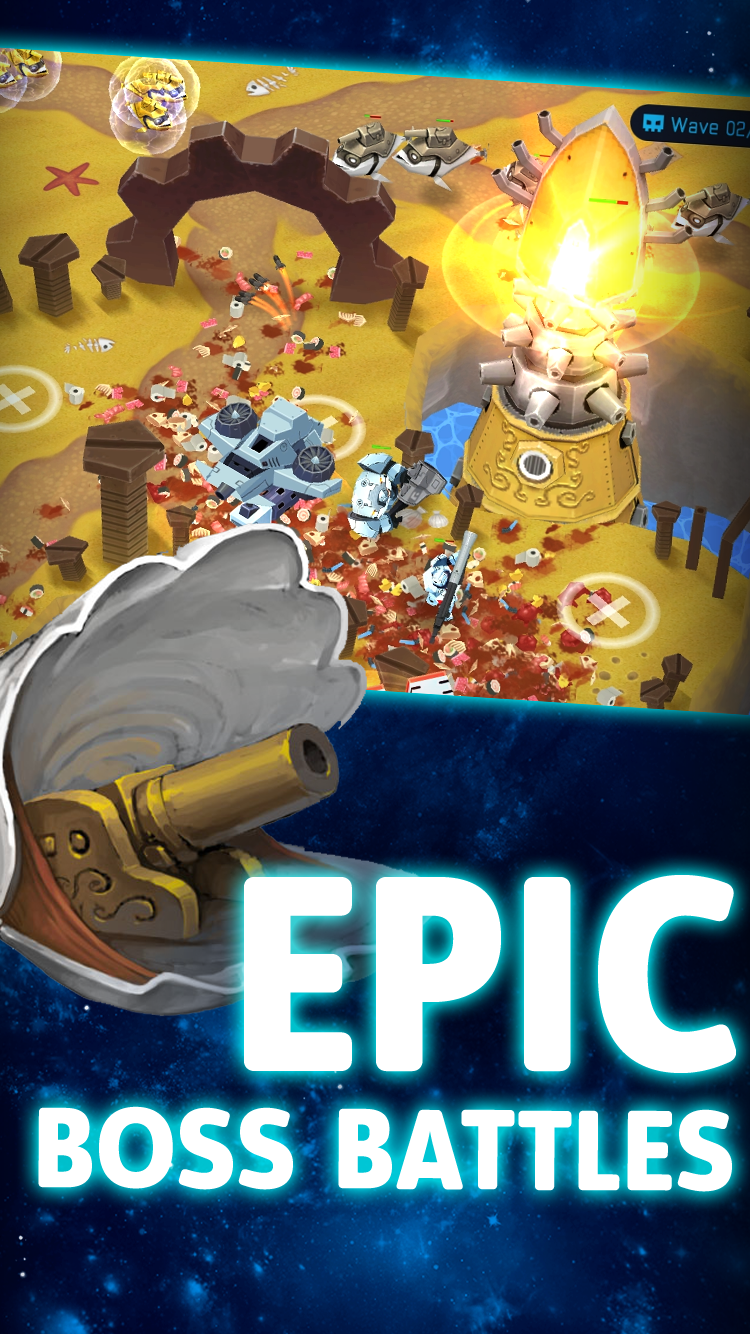
Missile batteries and energy spires carry this fight — massed, overlapping, and positioned along the perimeter the shark patrols. The trap is clustering: phase two punishes clumped grids with its dive attack, so spread the anti-air into three overlapping zones rather than one superfarm. Ground lanes still need a skeleton crew for the adds — two upgraded towers plus one hero rotating is enough if the sky grid is honest.
The patrol circuit never varies — mark the two points where the shark passes closest to buildable pads and stack your best anti-air there. Free damage windows exist; find them.
Cooldown and clone management
The fight's hidden mechanic is the cloning queue: the shark's dive can wipe a hero instantly, and a hero in the clone bay during phase three is often the loss. Keep Medic backline, hold her revive-window actives for phase two onward, and pre-position the squad at the strafing lane before the 25% threshold — not after. Assault's burst active belongs to the strafing run; burn it early and phase three becomes a coin flip.
Every boss before this taught you to defend a lane. The shark teaches you to defend a sky.
ARENA BOSS DOCTRINEKey takeaways
Short on time? This is the manual condensed to a sticky note for your monitor.
- Three phases, three answers — patrol, dive, strafing run
- Spread anti-air into overlapping zones; clumped grids die to the dive
- Two upgraded ground towers handle adds while the sky grid works
- Save Assault's burst for the phase three strafe — it's the fight
- Protect heroes before 25% — a cloning-queue death mid-strafe ends runs
Asked after this manual
The questions commanders send the desk after reading this guide.
Face it prepared, not lucky
The Elite Commander Pack's Nightmare presets were built for exactly this fight — take them into the sky.