Kraken takedown: the complete Act I boss guide
The Kraken surfaces mid-map, eats your formation, and leaves. This is the fight that teaches you OTTTD isn't really a tower defense — it's a resource fight wearing a tower defense costume.
FILED UNDER Boss Guides
Every commander remembers their first Kraken fight: the moment the boss surfaces nowhere near your lovingly built kill grid and you realize the railguns are now decorative. The fight is winnable by design — you just have to stop playing it like a defense mission.
How the fight actually works
The Kraken cycles between surfaced and submerged phases, repositioning between each dive. While surfaced it spawns tentacle adds that pressure separate lanes — the fight's real killer isn't the boss, it's the split attention. Damage windows are the surfaced phases, roughly 20 seconds each. Everything — hero positioning, tower sales, active cooldowns — should be tuned to those windows.
The sell-and-rebuild doctrine
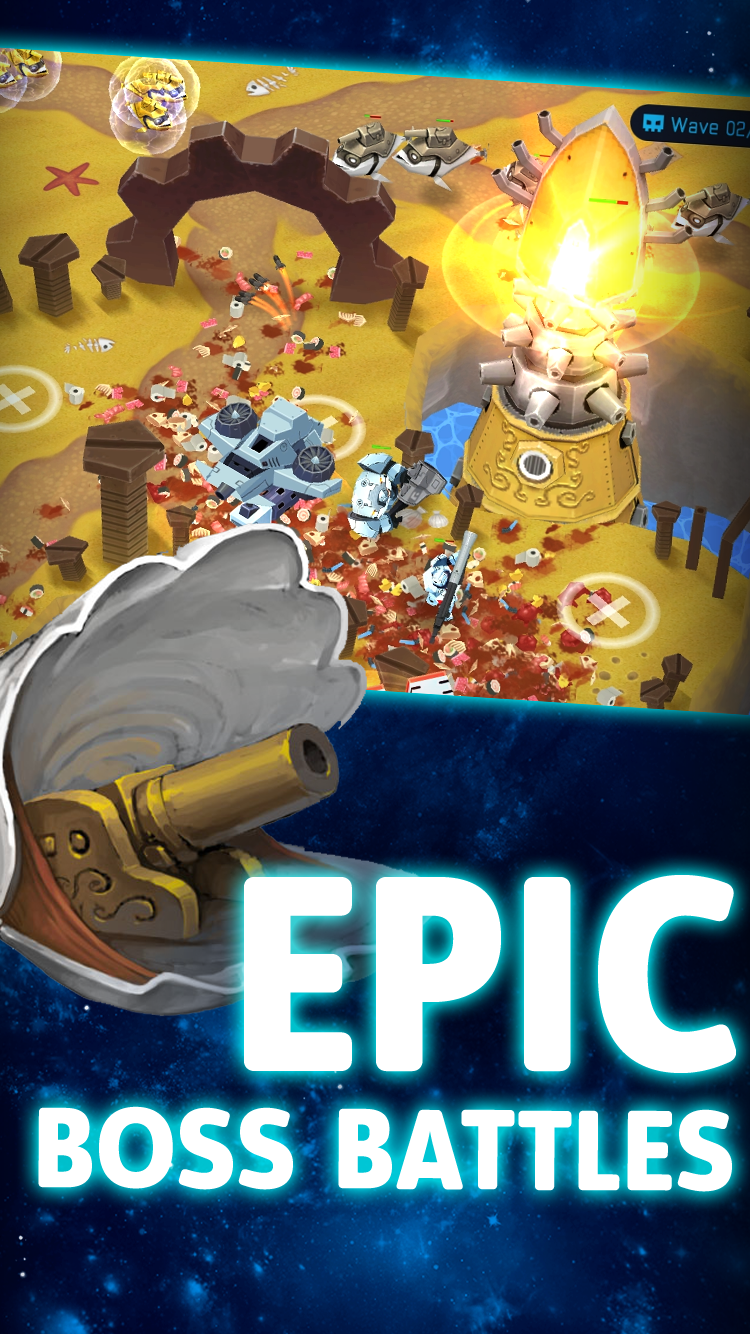
Here's the counter-intuitive core of the fight: your towers should follow the boss. Because placements refund most of their cost, the winning line is liquidating towers when the Kraken dives and rebuilding near its next surface point. Watch the water shadows — they telegraph the surface zone two seconds early. Players who treat placements as permanent lose half their DPS to empty water; players who run the mobile economy hit every damage window at full strength.
The Kraken's dive repositions predictably across three zones — learn the rotation and pre-build the next site during the submerged phase. The shadow telegraphs are always honest.
Squad composition and timing
Assault is mandatory — his burst scaling aligns perfectly with surface windows. Saboteur strips the shell armor that gates phase two; Medic keeps the squad alive through tentacle pressure so you're not feeding the cloning queue mid-window. Save actives: Assault's burst should trigger the moment the boss surfaces, not on cooldown. Two clean windows typically end the fight; three is still a pass.
Stop defending the map and start hunting the boss. The Kraken doesn't lose to towers — it loses to timing.
ARENA BOSS DOCTRINEKey takeaways
Short on time? This is the manual condensed to a sticky note for your monitor.
- Damage windows are the surfaced phases — everything aligns to them
- Sell towers on the dive, rebuild at the next surface point
- Tentacle adds are the real threat — clear them or they bury your DPS
- Assault + Saboteur + Medic is the proven trio for this fight
- Hold actives for surface windows, never fire them on cooldown
Related field manuals
Asked after this manual
The questions commanders send the desk after reading this guide.
Bigger fish ahead
Kraken down? The flying zombie shark is waiting in Act II — read the strategy manual before it finds you first.